To increase your chances of visitors clicking on your products or promotions it is best to make the hotspot areas as large a possible and have it cover all relevant product details. It is very common that in some cases this means that hotspots will overlap.
It is completely harmless to use overlapping hotspots. Below you can find more information about how overlapping hotspots work, which will help you make better decisions in drawing hotspots and, most importantly, positioning the hotspot icons in these cases.
In short, when you are viewing an online catalog and you click or tap on an area where two hotspots are active the publication reader will activate the hotspot of which the icon is closest to where you clicked/tapped.
If a hotspot does not have the icon enabled the distance to the center of the hotspot area will be measured.
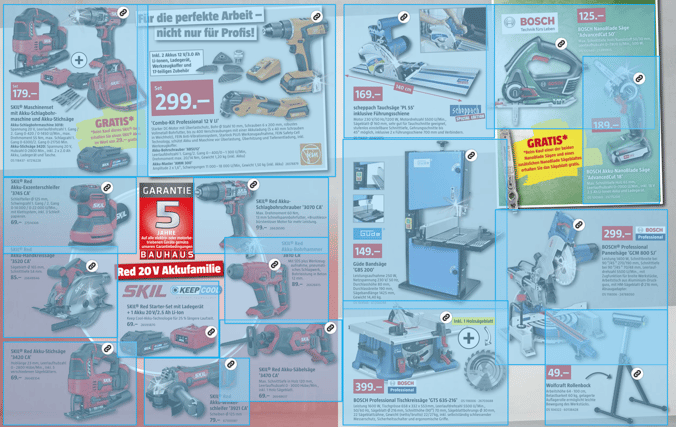
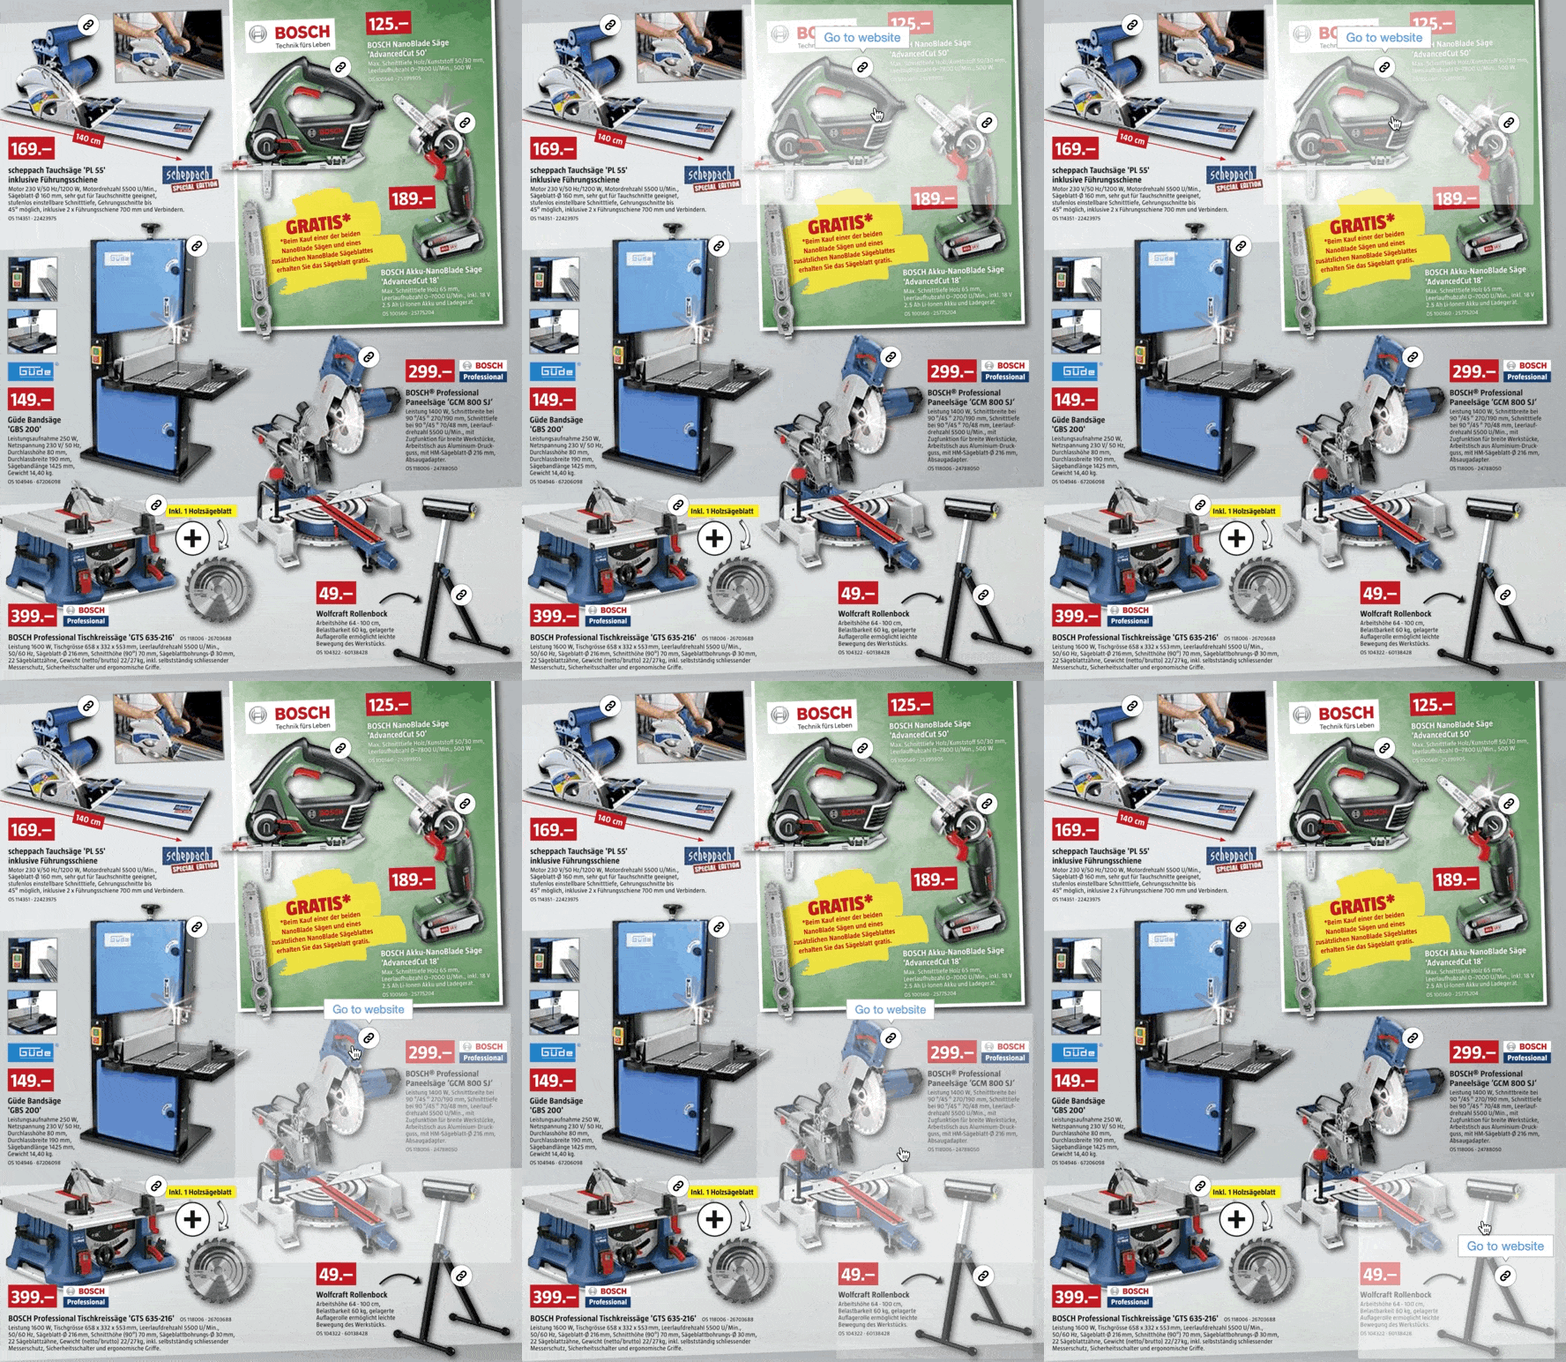
Example of a catalog with overlapping hotspots.
As you can see in the example above, there are several overlapping hotspots. Unlike other catalogs, this example doesn't have a strict grid for its products.
Another case where overlapping hotspots can come in handy is in a situation like this:
Example of a product hotspot in another product hotspot.
As you can see here, there's one hotspot that covers the entire shower set, and there's another, much smaller hotspot covering another product in the background. They are two different products, and in this way you can tag both of them, even if the click areas overlap.
How do overlapping hotspots impact the user experience?
Publitas automatically makes sure that in most situations, your customers get to see the most relevant hotspot when they click on an overlapping area. Here's how:
Situation 1: Hotspot icons are enabled
In this case, Publitas detects which hotspot icon is closest to the user's mouse cursor and displays that hotspot.
Situation 2: Hotspot icons are disabled
In this case, Publitas detects which hotspot center is closest to the user's mouse cursor and displays that hotspot.